Print To FileScan v3.1 Admin Guide
Table of Contents

Print To FileScan v3.1
Admin Guide
Abstract
Updated Admin Guide which outlines the steps to install and setup Print to FileScan for user access.
Contact
The Print to FileScan Manager is a windows application designed to provide a simple way to archive documents in FileScan. Simply select the print option from within an application (email, pdf, word doc, etc.) you would like to archive and select the PrintToFileScan option instead of a physical printer. A dialog will open (check the task bar for a blinking icon if you don’t see the form open) requesting an order number, description, category, and subcategory selection. After clicking Import, the document will then be stored in FileScan for the desired file, category, and subcategory. A success message will show once the import is complete.
Installation Requirements
- Microsoft .NET Framework 4.6.2 (Will be installed if not already installed).
- Network access to a Ramquest database. Database user and permission setup are outlined in the instructions below.
- The user that is currently logged into the computer will need permissions to write to the FileScan file storage location.
Installation
- Run the Print to FileScan Manager installer, FourTierSoftwareFileImportManager_3.1.0.0.
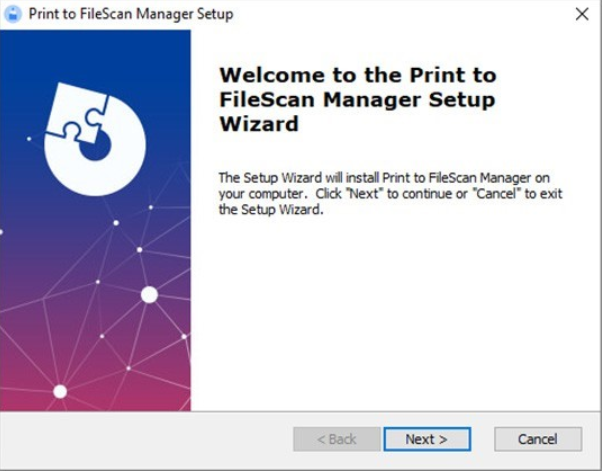
- Click Next
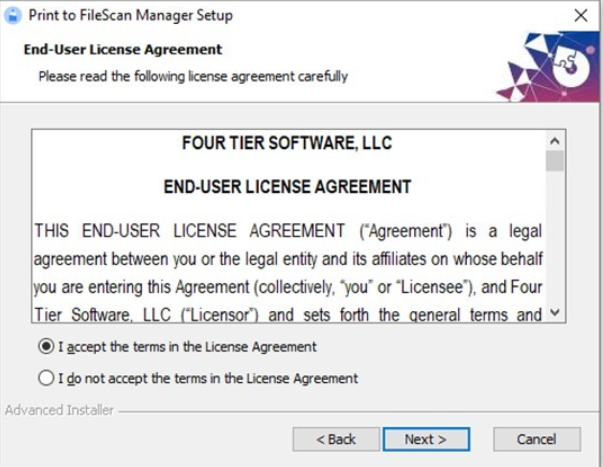
- Agree to the license agreement and click Next:
- Choose the Everybody installation type and click Next:

- Keep the default or select a new installation location and click Next.:

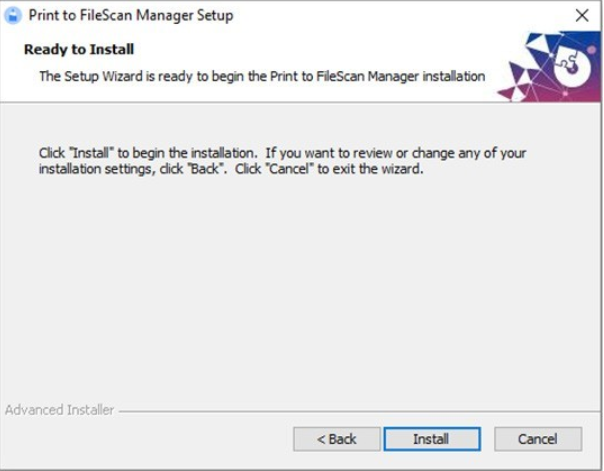
- Click Install to begin the installation. If the .NET 4.6.2 framework or newer is not installed it will be installed first and may take a few minutes.
- The Printer++ setup will open during the install. This installs a printer driver that is used during the Print to FileScan process to capture the printed document. Click Next.
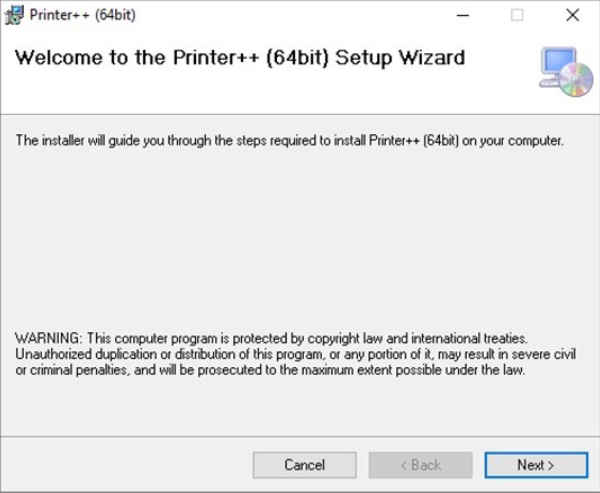
- Click Next again to confirm the installation of Printer++:

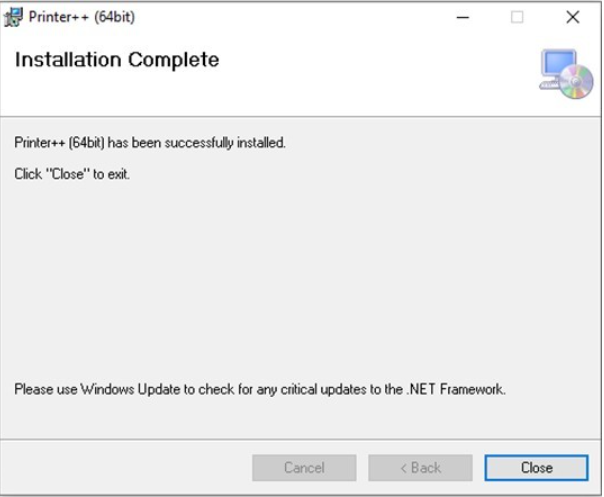
- Click Close to complete the Printer++ installation:
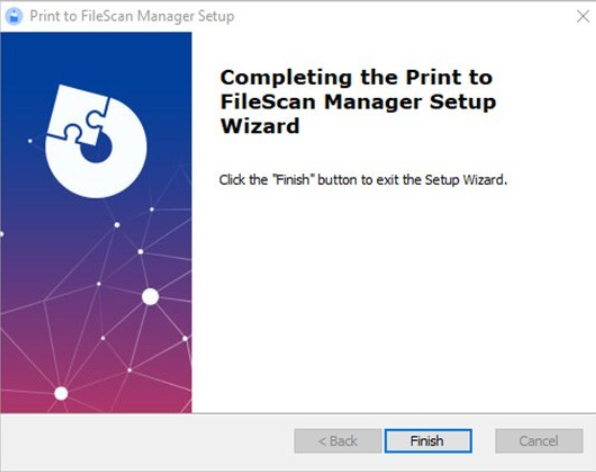
- Click Finish to complete the setup:
- Print to FileScan will open in admin mode:
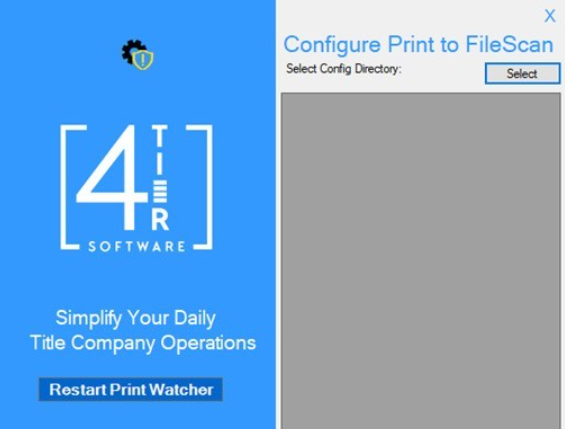
- Click Select to open the file explorer
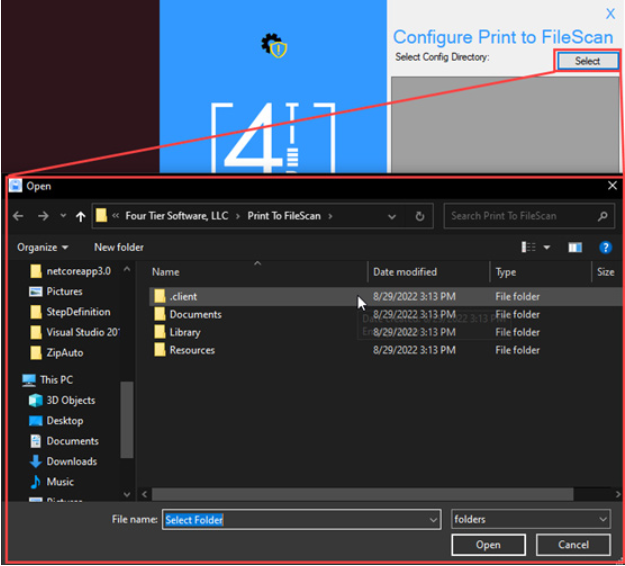
- For a local install, select .client folder found in the directory for the program to store any client and database configurations. Click Open when you have chosen the folder location for your configurations.
Network (UNC) installations can use network locations by typing the UNC path into the ad dress bar of the explorer (\\{servername}\\{folderpath}). ** See Advanced User Installation for instructions on how to use config locations other than the .client folder.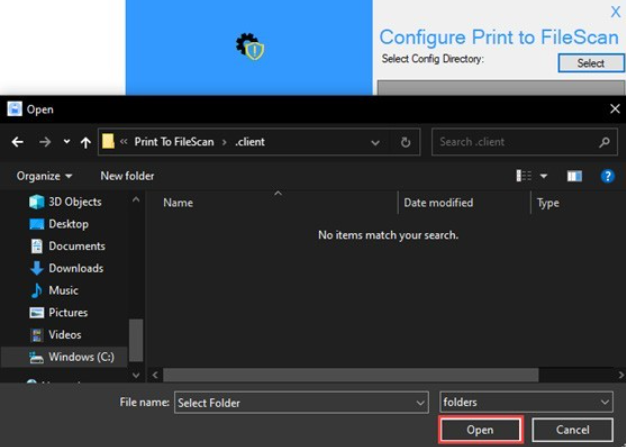
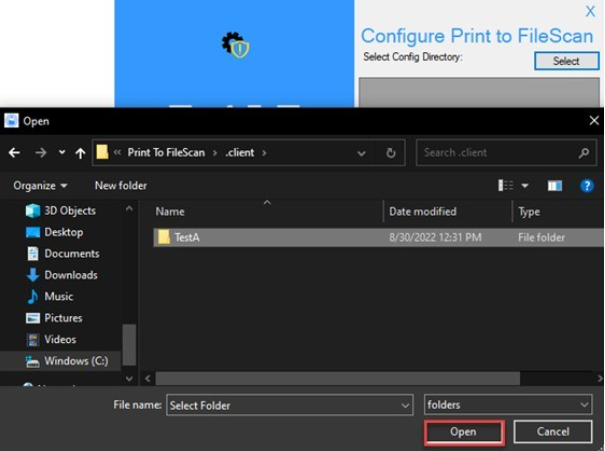
- Click the + to add a new client:

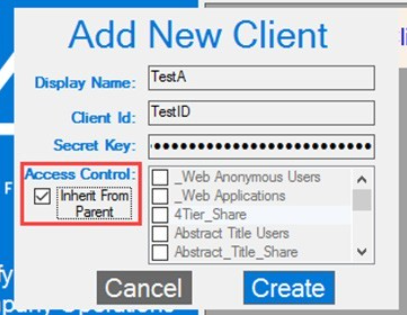
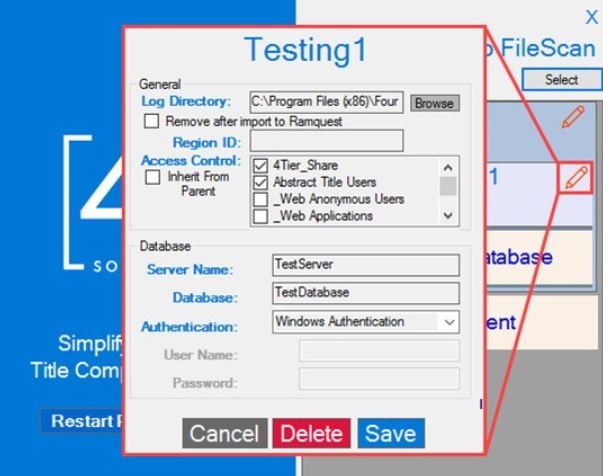
- Enter a RQ Display Name, Client ID, Secret Key and select groups for Access Control or select Inherit From Parent to inherit permissions from the selected folder. Leaving all check boxes blank will also inherit from parent. Click Create.
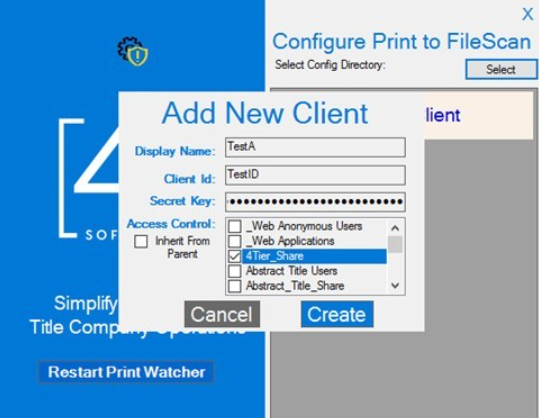
- If you need to make changes to the client, click the pencil to edit the client.
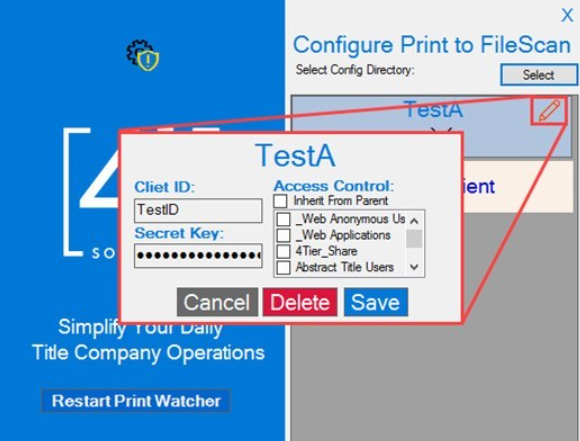
- If a client needs to be deleted, click Delete while in the edit menu. This will display a confirmation popup that requires you to enter the client name to proceed with deletion.

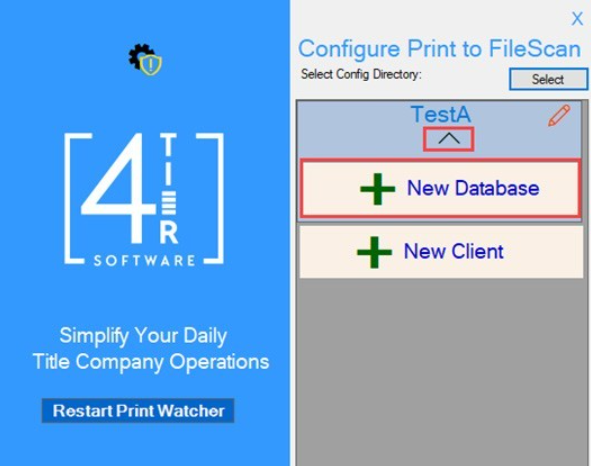
- Click the down arrow to expand the client database list. Click the + to add a new client database. In most cases, there will only be one RQ database per client. However, in some cases (e.g. central processing centers) there may be a need for the client to have access to multiple RQ databases.
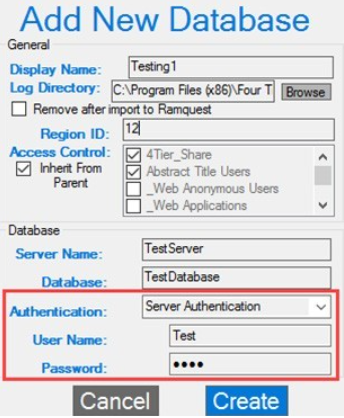
- Enter a Display Name for the RQ database
- Select a Log Directory if you wish to change the location of the client’s PTFS log files from the default location. Ensure the users have access to the remote log folder and that they have write permissions to any location selected.
- Check the “Remove after import” box if the PTFS temporary file should be deleted from the user’s appdata after import into RQ. **Note: the user’s appdata folder will need to be managed over time if their print volume is high, as this directory could get large.
- Add a Region ID if a RamQuest database is split by region, otherwise PTFS will search for orders in all regions.
- Select the desired Client User Group(s) from the Access Control section indicating who should have access to the given RQ database. Leaving all unselected or checking Inherit From Parent will inherit permissions from the selected folder.
- Once set to Inherit From Parent, explicit permissions will be disabled, but can still be modified through the documents Security Property.
- Select an Authentication method.
- Server Authentication will allow administrators to configure Print to FileScan to connect to Ramquest with credentials setup in the Ramquest database.
- Windows Authentication will use the credentials of the Windows account that is logged in to connect to Ramquest.
- Click Create.

- If you need to make changes to the database, click the pencil to edit the database. If a database needs to be deleted, click Delete while in the edit menu. This will display a confirmation popup similar to the client delete, where the name of the database will need to be entered to complete deletion.
- Check the system tray for a Print to FileScan Application icon.
Support Email: support@4tiersoftware.com
One to One

- Multiple Licensed clients
- Active Directory security group defined per client
- One valid license / client
The one to one multi tenancy is the most straight-forward of the patterns. Each client with a valid license will have its own folder containing one client.config file containing the license information and one “database.config” file defining how the RamQuest database is to be accessed for that client.
Users are granted access to particular clients by their AD group membership status.
The RamQuest information in the database. config files can be the same across clients, but the usage will be recorded against whichever client it is under.
If a User is a member in both Security group A and Security Group B, they will have access to both clients/databases
One for All
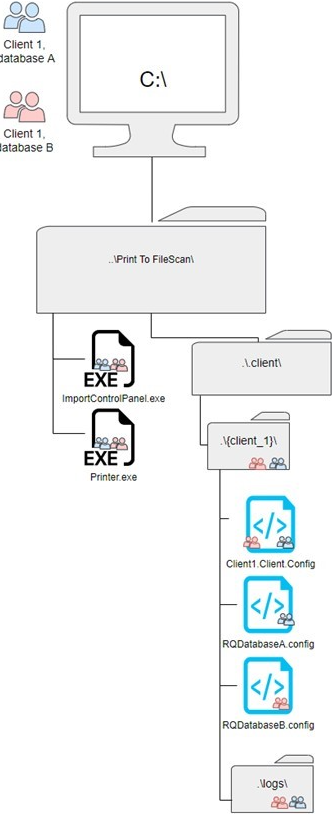
- One Licensed client
- Active Directory security group defined per Database
The One for All multi tenancy is an option more suited for larger organizations, where one client may have multiple RamQuest Databases setup, or multiple connection methods defined for different members of the organization to connect to a database.
Users are granted access to particular Databases by their AD group membership status.
The RamQuest information in the database.config files can be the same across clients, but the usage will be recorded against whichever client it is under.
The groups on the client.config Access Control List, each should also be on at least one database.config files ACL.
If a group on a database.config file is not present on the client config, members of that group will not be able to import successfully.
Imports into Either database will both be recorded against the same client
All for One
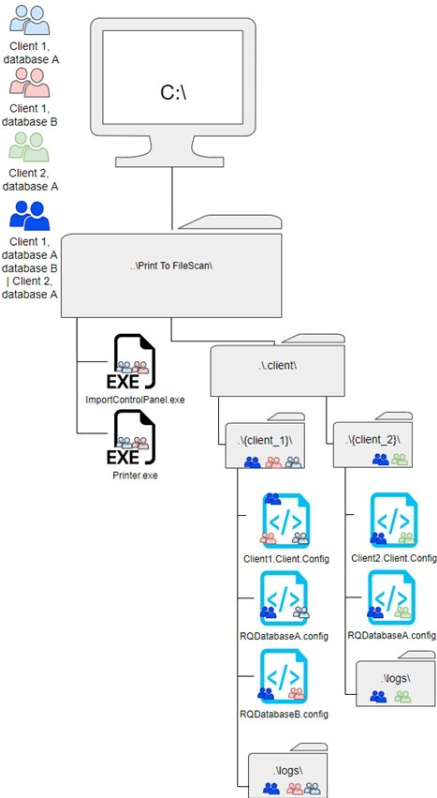
- Multiple Licensed clients
- Active Directory security group defined per Client or Database
- Group that does work across multiple Clients/Databases
The All for One Pattern is an option for when you have a group that may do work across multiple clients, and their usage should be recorded against the specific client license they happen to be working under.
Members of the specified group are granted access to particular Databases by that group’s inclusion in the Access Control List of each respective client/database config file.
This group will need to be granted access to each client and database config file intended for them to work in.
Files imported by this group will be recorded under the license that has been setup for the target database selected by the user.
All for One Alt
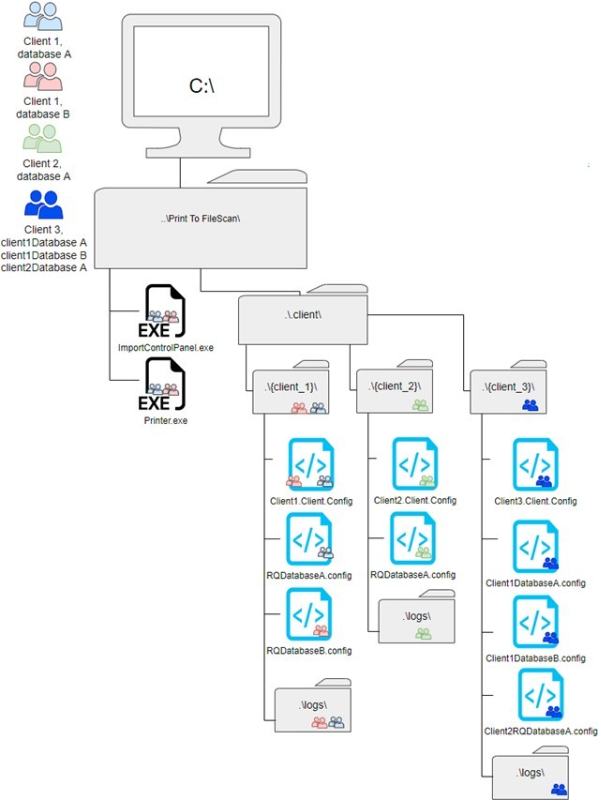
- Multiple Licensed clients
- Active Directory security group defined per Client or Database
- One Client Setup to record against multiple Client databases
The All for One alternative Pattern is an option for when you have a group that may do work across multiple databases, and their usage should be recorded against their own license.
Separate Database config files need to be setup under the group’s client, in addition the original client/database configuration.
FileScan Imports will be recorded against the groups own license information, not the database owners client information.
Advanced User Installation
One of the biggest advantages of the advanced user installation is the ability to retain your client and database configurations through installations, allowing you to save time for reconfiguring or setting up new installations.
User configurations are now configured within the User’s %AppData% folder at:
%AppData%\Roaming\Four Tier Software, LLC\PrintToFileScan File name: PrintToFileScanConfig.json
This file must be present in all user’s profiles. If absent the program will create one and use the .client folder as its default location.
The file contains the following:
{
“ConfigFilesLocation”:””
}
Setting this value is key to setting up your remote client configuration setup.
Using the Admin mode of the ImportControlPanel.exe you can path to the directory where you would like to create clients. It is suggested that you use a master configuration directory and configure each directory accordingly to the qualified client (see below).
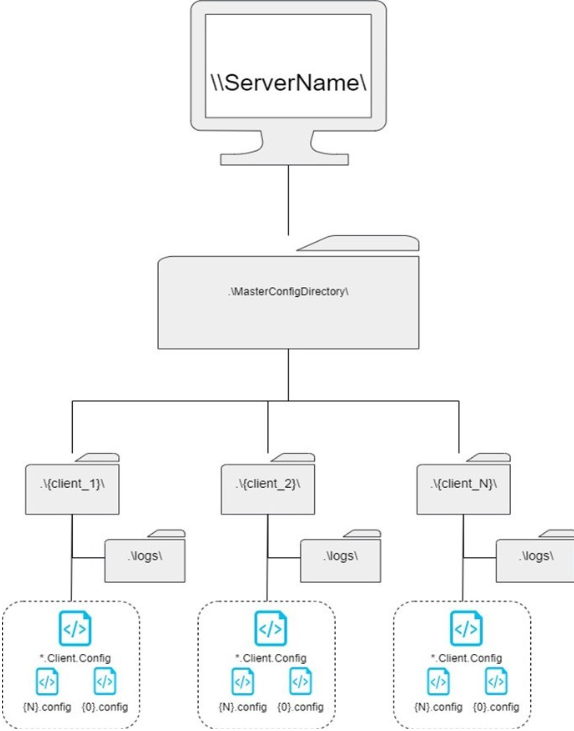
After setting up each client and their corresponding databases, ensure users have access to the proper folder and you can set the ConfigFilesLocation within the user’s AppData PrintToFileScanConfig file. Such as (ensure backslashes are escaped within Json by using “\\” for each “\” character):
{
“ConfigFilesLocation”:”\\\\Server\\MasterConfigDirectory\\client_1”
}
**Note: You may name your directories and their structure however you like, you can also put them wherever you like. The MasterConfigDirectory is merely a suggestion to more easily manage your configurations for administration.
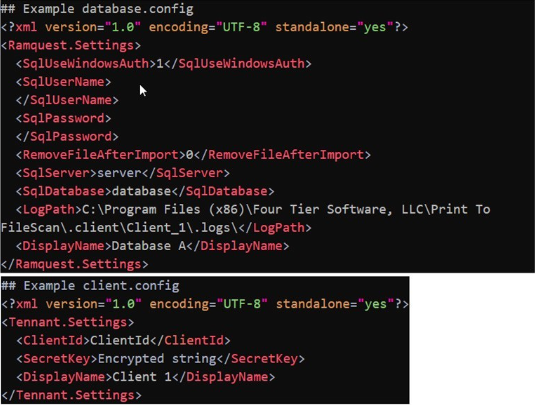
Client and Database Config Examples:
